
Mastering beginner-friendly loot routes in Arc Raiders is a distinct strategic progression path that prioritizes survival over high-stakes combat. In the volatile environment of the Exclusion Zone, many new players find themselves in a “death-loop”—constantly rushing toward major landmarks only to be eliminated by veteran squads. For players looking to build their initial wealth and understanding of the world, developing a safe-value playbook forms a reliable framework for mastery. It is about understanding that the periphery is often more profitable than the center.
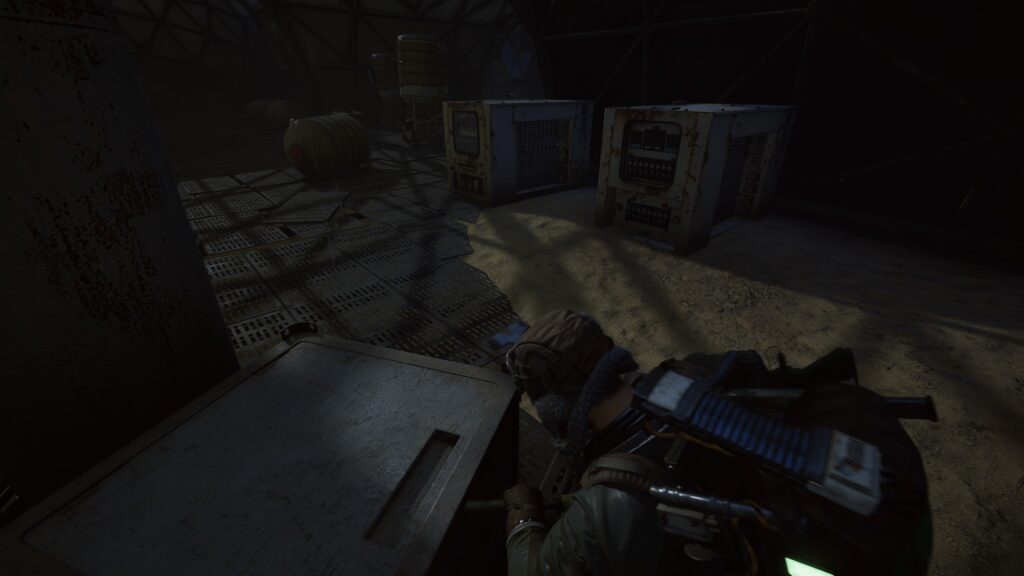
This guide examines how to approach low-risk looting efficiently, focusing on “off-road” nodes, the logic of secondary industrial sites, and the strategic importance of avoiding Hot Zones to ensure a consistent upward trend in your stash value.
The Logic of Low-Density Looting
In Arc Raiders, loot is distributed across the entire map, not just in the major facilities. While high-tier POIs contain rare modules, they also act as magnets for high-level PvP. A safe-value route is a deterministic strategy that targets “low-density” locations—small clusters of buildings, crashed convoys, or isolated maintenance sheds. These areas have a high probability of being un-looted and, more importantly, un-watched. By focusing on these spots, you trade the *potential* for legendary items for the *certainty* of extracting with a full bag of consistent resources.
This approach requires a shift in perspective: you are a scavenger, not a conqueror. Your goal is to fill your bag with high-stacking industrial materials (like copper, components, and electronics) that have a reliable sell-value. A successful beginner run isn’t measured by a rare gun drop, but by the fact that you extracted with zero shots fired. Mastery of these quiet routes ensures that you never go bankrupt, providing the financial foundation needed to eventually transition into more dangerous raiding.
Core Tactics: The Perimeter Sweep and Small-Node Navigation
To secure value without entering the high-risk “kill zones,” you must utilize these specific pathing habits:
- The Perimeter Sweep: Move along the edges of the map, staying within fifty meters of the boundary. Most player spawns rotate inward toward the center, leaving the outer “rim” entirely clear for you to harvest in peace.
- Small-Node Hopping: Identify three or four minor structures that aren’t marked as major POIs on the map. Connect them in a “loop” that starts and ends near a peripheral extraction point. This ensures you are never more than a minute away from a safe exit.
- Toolbox Priority: Focus on toolboxes and industrial crates rather than lockers or weapon boxes. These containers are more common in safe areas and yield the crafting materials essential for early-game progression.
Managing Player “Flow” Awareness
Safety is not just about where you are, but where others *aren’t*. You must learn to read the “flow” of the match. If you hear a major explosion at a central refinery, that is your signal that the area you are currently in is safer, as the “hunters” have been drawn to the noise. Use this information to loot with more speed. Conversely, if you see an open door in a small shed on the map’s edge, it means another “quiet” raider is nearby. In this case, do not engage; simply rotate to your secondary safe node.

By staying on the periphery, you minimize the number of “angles” you have to watch. While a player in the center has to worry about 360-degree threats, a perimeter raider usually only has to scan one side of the horizon. This reduction in tactical pressure allows you to focus on learning the map’s geography and sound cues without the constant fear of instant deletion. A veteran beginner knows that ten safe runs are worth more than one lucky gamble. Build your wealth in the shadows before you try to claim the spotlight.
Transitioning from Scavenger to Raider
The final stage of safe routing is knowing when you have outgrown it. Once your stash is stable and you have crafted your first reliable mid-tier kit, you can begin “inching” inward. Start by adding one moderate POI to the end of your safe loop. This allows you to experience higher-density AI and potential player contact while still having your “safe” loot already secured in your bag. This gradual increase in risk ensures that your skill grows in lockstep with your confidence.
Integrating these safe-value habits into your daily routine ensures that you are always progressing, regardless of the map’s volatility. You stop being the “free loot” for the lobby-chasers and start being the elusive survivor who is building an empire while others fight for scraps. Mastery of the safe route is the ultimate foundation of a long and prosperous career in the Exclusion Zone. Stay quiet, stay focused, and extract rich.
Conclusion: Stability as the First Objective

Safe looting rewards the patient and the methodical. By bypassing the Hot Zones and focusing on perimeter nodes, you eliminate the gamble from your raids. Integrating these quiet habits into your routine ensures that you build a steady stream of resources, providing a stable path to long-term success through superior risk management in the Exclusion Zone.